


Do YOU have a green thumb?
I have never had a green thumb. I like the outdoors–take me camping–but I’ve never had the patience for gardening. Any plant ever gifted to me, unfortunately, went thirsty and bid adieu far too soon. It wasn’t until my daughters were searching for a project that would benefit their school and community that I learned all about those pesky weeds, how to nourish your soil, and what you should–and could—grow in our local climate.
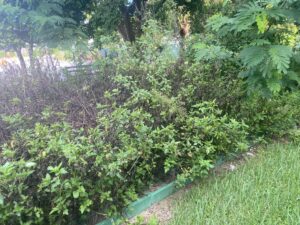
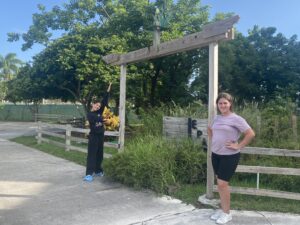
The girls’ school had an overgrown and dilapidated garden that had not been tended to in almost two years. There was no time to waste! Working with their Environmental Club, they began composting food waste from the cafeteria and coffee grounds from their café. We took measurements of the garden beds that needed replacement and began weeding the entire area.
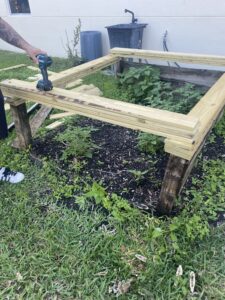
The school’s landscaper helped with the larger areas and after a few weeks, we had a clean canvas to work with. A quick trip to our local home improvement store helped with replacement wood, weed barrier fabric, insect killer, and a few other items. If there was anything salvageable, we repurposed or reused it, like the garden bed posts.
The key to a great garden, is a strong foundation!
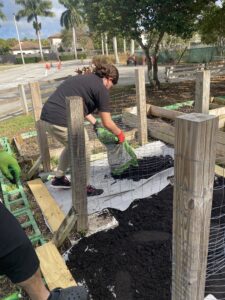
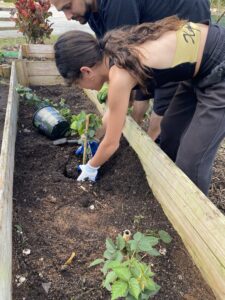
Once the foundation was completed and weed barrier fabric was laid down, fresh garden soil was added on top. We mixed in some seed starter, along with some of the composted waste and coffee grounds and let it sit for a couple of weeks.
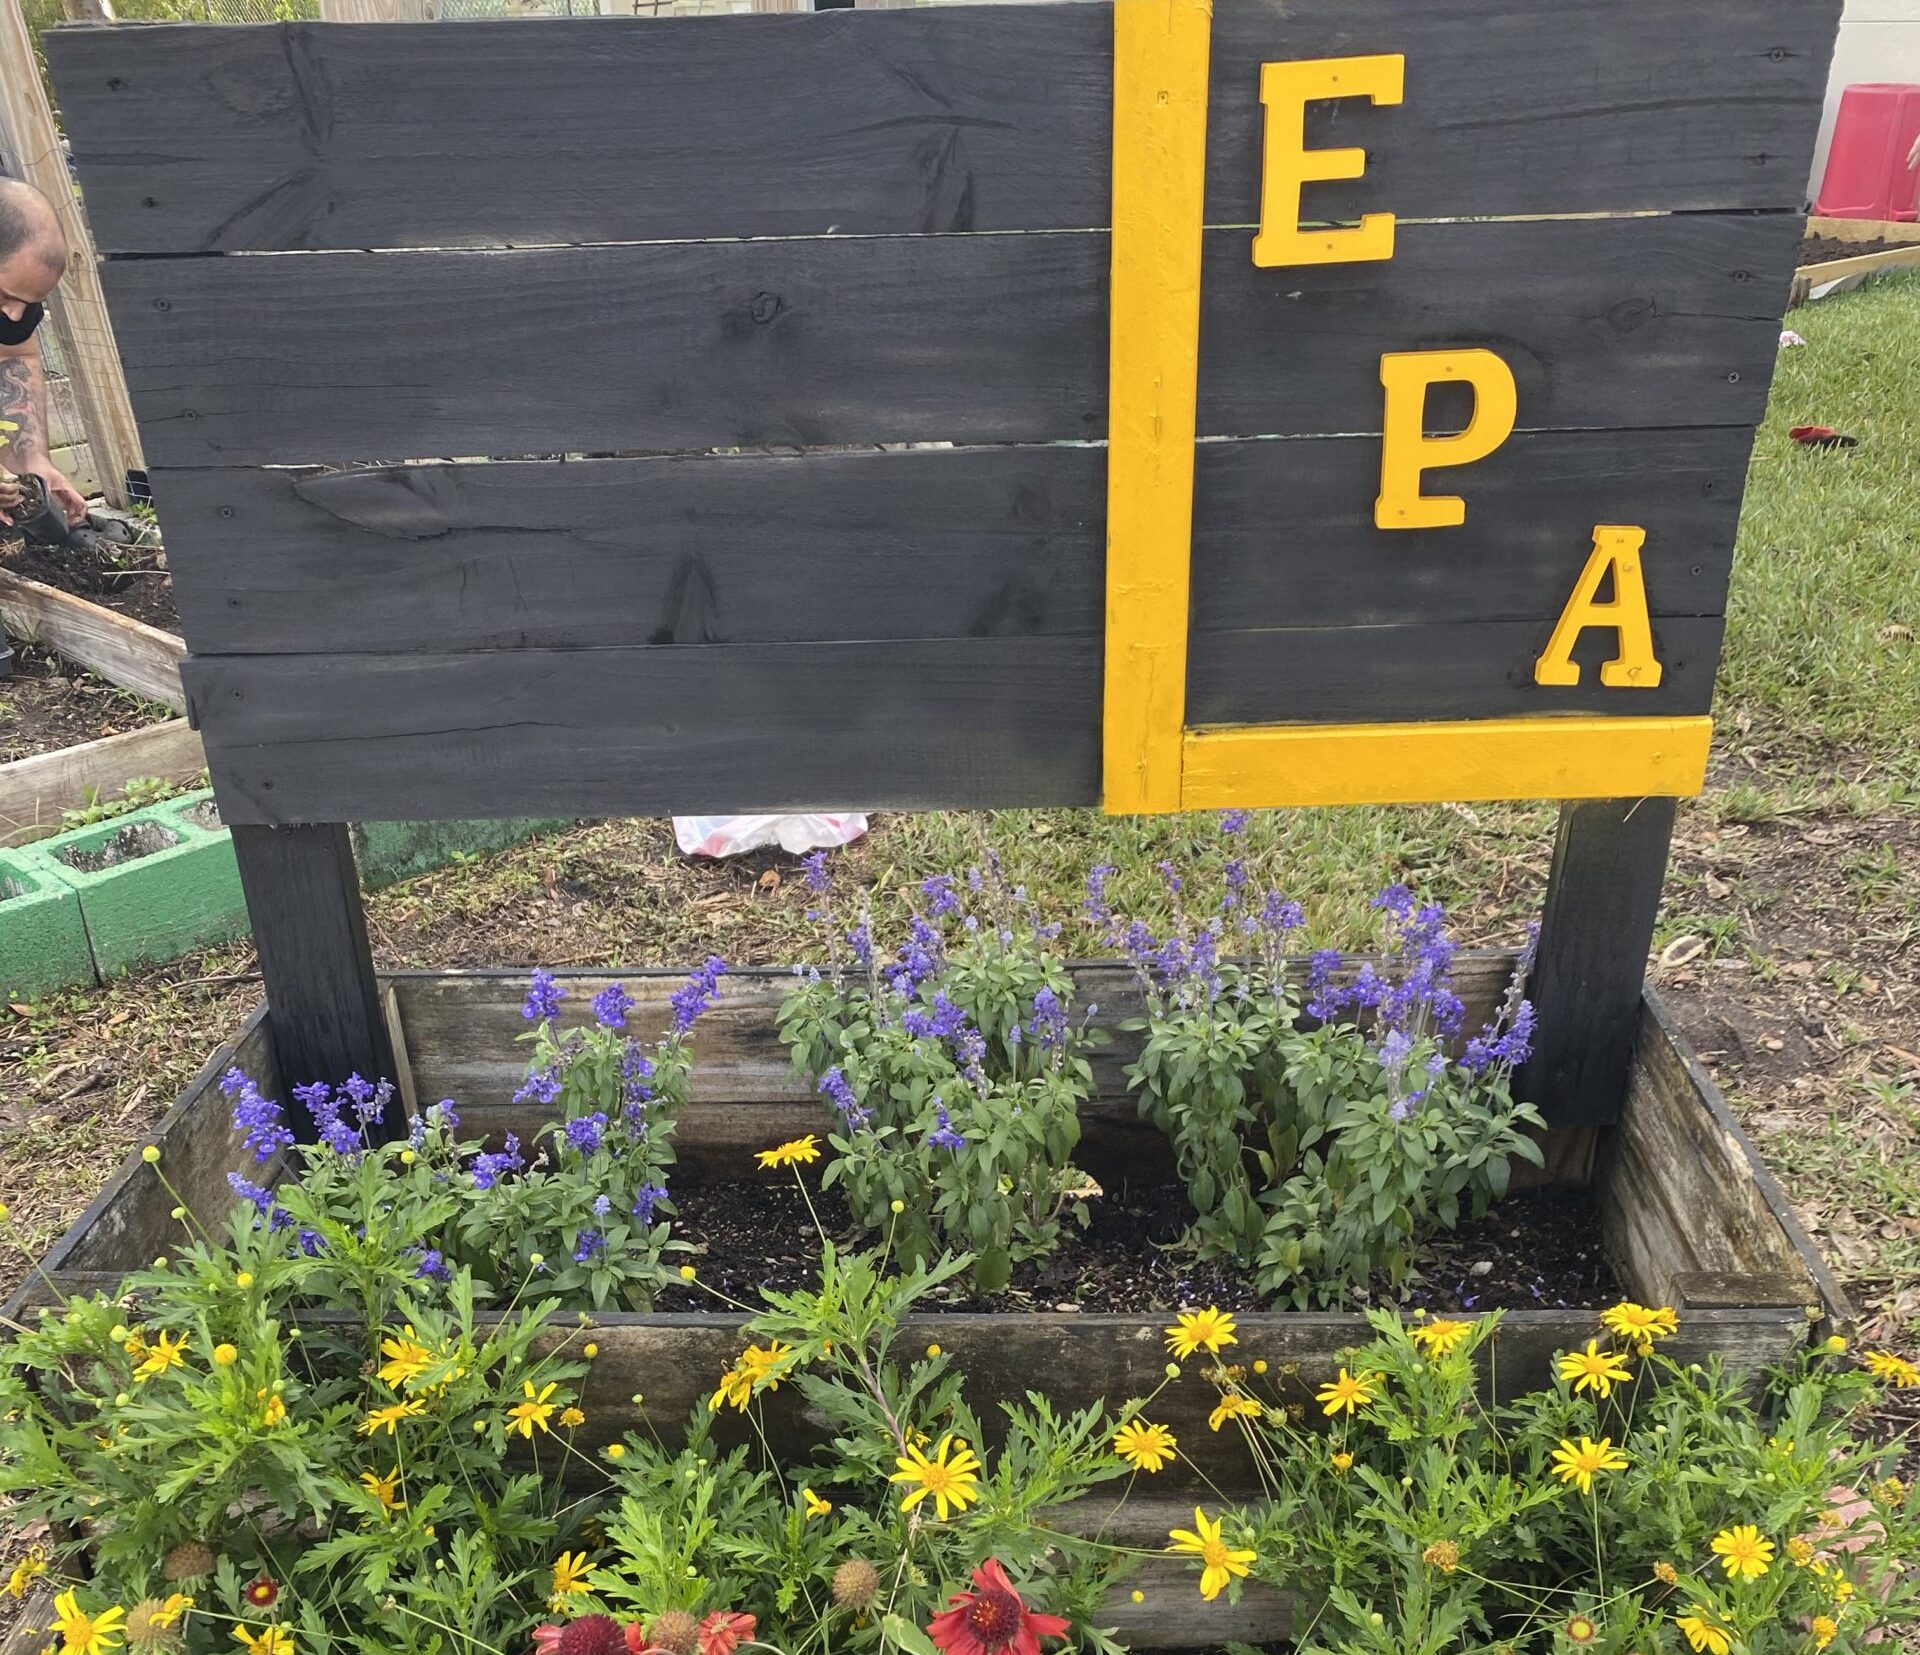
We talked about different types of plants and focused on perennials–plants that can grow year-round. Wildflowers are great because they come in a variety of colors and attract bees and birds. We made sure to replant some milkweed which would bring in caterpillars and butterflies. And you can’t have a garden without some bright sunny sunflowers.
But we wanted the garden to nourish our bellies, not just our souls. So we made a list of various plants and seeds that we could plant:
• Vegetables: lettuce seeds (2 varieties), orange carrot seeds, Thai chili pepper seeds, eggplant, cherry tomatoes, and green & red bell peppers
• Herbs: rosemary, sweet basil, cilantro, and sage
• Fruits: blueberries and blackberries
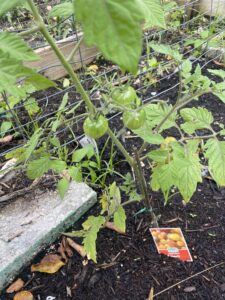
We planted a mix of seeds and plants based on their maturity or harvest timelines. You can find this right on the seed packets or plant information cards. The ones we chose had anywhere from 60-100 days.
Tips & tricks!
Some quick tips to remember are:
• Make sure the space you have dedicated to your garden is wide and deep enough–you can always add additional plywood to make it deeper, based on what you wish to grow.
• Make sure to use a weed barrier fabric, it’s one of the best ways to keep weeds from growing.
• Use a safe insect killer to keep unwanted bugs away.
• Water your plants regularly, but remember the Miami weather, so don’t overwater.
• Use what you have at home–save those fruit & veggie seeds, save the end of your green onions, they will regrow!
Once you’re all done, throw a picnic with all that you’ve grown (garden salad or salsa), and share your knowledge on starting your own garden with a new green thumb!


